
A roof inspection checks the covering, the details around it and the structure beneath, then reports what was found. It is not a quick glance from the pavement. A full survey has two halves: the outside, seen from the ground and the roof itself, and the inside, seen from the loft. The two halves tell different stories, and each corrects the other.
The point of the visit is evidence. You should come away with photographs of the faults and of the sound areas, measurements where they matter, and a plain explanation of what each finding means for the roof. That evidence is what lets you decide between a repair, a larger job or no work at all, and it is what makes a quote one you can check against reality.
This guide sets out what an inspection includes, in the order it is usually done: the ground check, the roof surface, the details and drainage, the loft and structure, the photographs and measurements, and the written report. It also covers what a survey cannot tell you, and how to get the most from the visit.
Starting from the ground
An inspection begins before anyone goes up a ladder. A walk round the property from the ground shows the general shape of the roof and its condition, and it gives the surveyor a sense of what to look for up close.
What the ground check covers
- The roof's overall line: sagging ridges, dips between rafters or bulging slopes.
- Missing, slipped or cracked tiles or slates, seen against the sky.
- The chimneys, their pots and the visible state of the brickwork and mortar.
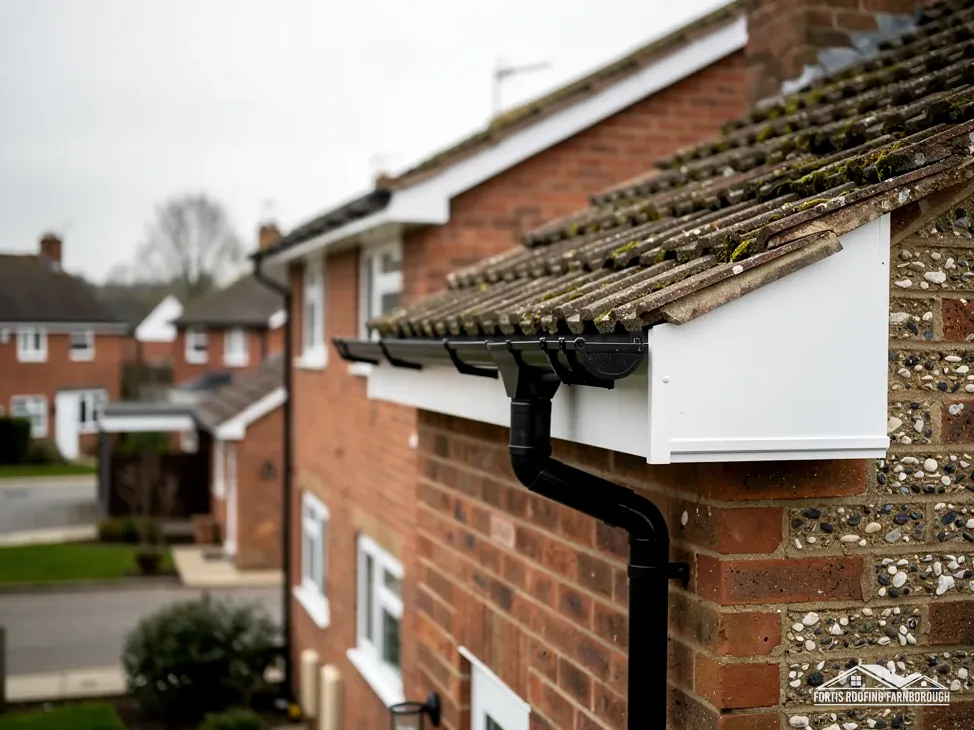
- Gutters, downpipes, fascias and soffits, including stains, overflow marks and sagging.
- Staining on walls below the roofline, which can point to a leak or a failed gutter.
- Trees, neighbouring buildings and anything that shades or overhangs the roof.
Why it comes first
From the ground you see the whole roof at once, which you cannot do while standing on it. Patterns show up: a line of slipped tiles, or moss concentrated on one slope. That helps the surveyor choose where to spend time on the roof.
We also ask what has happened: where you have seen damp, when, and in what weather. A stain that appears only in driven rain from the west tells us where to look. That conversation, and your own photographs if you have taken any, belong to the inspection. Our guide to how roofers find a roof leak explains how those clues are followed.
The ground check is quick, but it sets the plan for everything that follows, and it is where a surveyor decides how much time each slope deserves.
On the roof: covering, ridges and details
The second part is the close look at the roof surface. It is done from a secured ladder, a platform, a scaffold or the roof itself, with fall protection where the roof or the situation needs it.
The covering
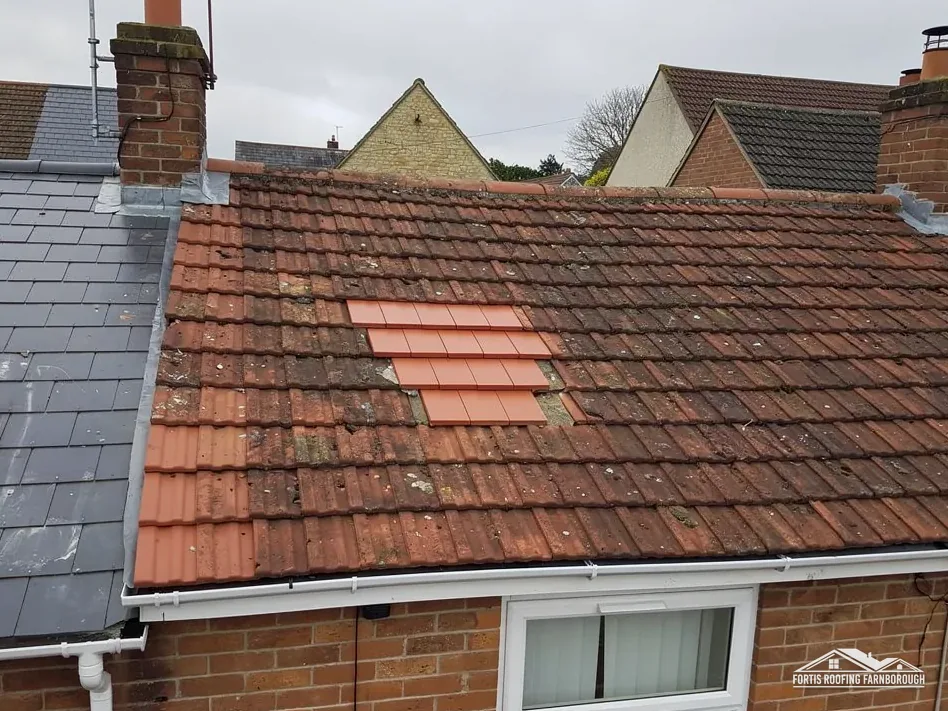
Each slope is checked for broken, slipped, cracked, flaking or missing tiles or slates, taking it course by course from eaves to ridge. Where the covering is concrete or clay, we look at the surface for spalling or erosion. Moss and algae are noted, because heavy growth can hold water against the surface. Where the roof is slate, we look at nail sickness, which is when the fixings fail and slates slide.
Ridges, hips and verges
The ridge sits at the highest point of the roof, with hips as the sloping joins at its corners. Gable ends finish in a sloping edge, the verge. We check whether the bedding is firm or cracked, whether tiles move when touched, and whether a dry-fix system is intact.
Valleys and flashings
Where two slopes meet in an inward angle, the valley, we check its lining and the tiles on each side. At chimneys, walls and abutments we check the flashing, which is the metal strip that seals the join, for lifting, cracking, gaps and past sealant repairs.
Flat roofs and extensions
Where there is a flat roof, we look at the membrane for blisters, splits, ponding and failed edge details, and at outlets for blockage.
Every finding on the roof is photographed where it sits, with the sound areas as well as the faults, so you can see the full picture.
Gutters, fascias and drainage
A roof does its job only if the water it collects has somewhere to go. Drainage is part of the inspection, and it is often where the first signs of trouble show.
Gutters and downpipes
We check for blockage, sagging, leaking joints and stains. A gutter that has dropped or backed up sends water under the lower row of tiles and into the fascia and the wall. We check the fixings, the outlets and whether the run falls towards them.
Fascias and soffits
The fascia is the board along the roof edge that holds the gutter, and the soffit closes the underside of the overhang. We look for rot, splits, stains and signs of birds or insects. Rotten fascia can no longer hold a gutter, and wet soffits may be a sign that water is getting into the eaves.
Eaves detail
Where roof meets gutter, the underlay should run into the gutter. A short underlay, or one that sags, lets water back behind the fascia. We check the eaves from outside, and from the loft where we can.
Why drainage matters to the roof
Water that cannot leave the roof finds other routes. A blocked valley, a full gutter or a failed outlet can cause damage that looks like a roof fault but is really a drainage one. Telling the two apart avoids repair work in the wrong place.
We photograph each outlet, joint and fixing that we check, and mark any that need work, so the drainage findings stand on their own in the report.
Inside the loft: the evidence from below
The loft check is where much of the most useful evidence lies, because it shows what the roof has done to the structure and what the underlay is doing.
The underside of the roof
With a torch, we examine the underlay, battens and rafters. We look for daylight, which means a gap above. We look for tears and sagging in the underlay, dark or soft timber, rust on nail tips, and mould. We press timber where it is safe to reach, to test for softness.
Insulation and moisture
Wet or flattened insulation tells us water or condensation has been present. We check whether loft insulation has been stuffed into the eaves so that it blocks the air gap, which can cause condensation. Our answer on signs of a roof leak in the loft shows what to look for.
Structure
Rafters, purlins, ridge board and wall plates carry the roof. We look for sagging, splits, rot at the ends, old insect attack and any sign of movement. We check where the chimney passes through, and any past alterations such as a removed chimney breast.
Pipes, tanks and the hatch
We note the position of water tanks and pipes, because a stain below can have a plumbing cause. We also look at the loft hatch and its seal.
If there is no loft access, for example on a flat roof or a room-in-the-roof, the report records it and describes what could not be checked. Not every roof can be seen from beneath, and a good report states its limits.
Photographs, measurements and the written report
The visit produces evidence, and what you receive afterwards should be in a form you can keep, share and refer back to.
Photographs
Every fault is photographed where it sits, with context shots to show its position on the roof. Sound areas are photographed too, so you can see what is not wrong. The photographs are numbered and tied to the written findings, so each statement has a picture behind it.
Measurements
Where numbers matter, we record them: the pitch, the area of every slope, the runs of ridge, verge and valley, and the size of any flat roof. Those figures are what a quote is built from.
The written report
A good report reads plainly and in order. It states what was inspected and how, what was found, what each finding means for the roof, what we recommend and in what order. It separates urgent work from work that can wait. It names the limits of the survey, such as areas that could not be reached.
The price
After a survey, the quote is one written total price for the work we recommend. If you want a survey as a stand-alone document, our guide to how much a roof survey costs sets out what national guides publish. MyJobQuote gives an average of around £300 (Oct 2026) for a roof survey, with ranges that vary by roof.
For the range of work that follows from one, see our roof repairs page.
What an inspection cannot tell you
An inspection is a snapshot, and every report has limits. Understanding them helps you use the findings sensibly.
What stays hidden
Some things cannot be seen without opening the roof. Underlay between the battens and tiles, the back of a flashing set into a wall, and timber inside a closed eaves box are all hidden until work starts. A report can say what is likely, with photographs behind each opinion, but it cannot see through a covering.
A moment in time
A roof in dry weather may not show a leak that appears only in driven rain. A hose test can help, but it is not a guarantee. If water has not reached the loft since the last storm, the evidence may be faint.
Not a structural report
A roof inspection looks at the roof. If it finds signs of structural movement, such as sagging rafters or cracked walls, we recommend a structural engineer, and the Planning Portal makes the same point where a heavier covering is planned.
Not an asbestos survey
If a roof or its soffits may contain asbestos, which is likely in some older buildings, an inspection can flag it, but identifying it needs sampling. The HSE advises assuming asbestos in buildings built or refurbished before 2000. An asbestos survey costs money, and MyJobQuote gives around £325 (Sep 2026).
Using the report
Keep the report and the photographs. They record how the roof stood on the day of the visit, useful if you sell, if you claim on insurance or if you need to compare a later quote with the evidence. Citizens Advice recommends three written quotes, and a good inspection report lets each roofer quote on the same facts.